Visual Materials
Big Creek Powerhouse #3 - PH #3

You might also be interested in

Big Creek Powerhouse #3 - PH #3
Visual Materials
Big Creek Powerhouse #3 - PH #3 - 4th Unit, first attempt to place rotor on shaft.
photCL SCE 02 - 28064

Big Creek Powerhouse #3 - PH #3 - 4th unit
Visual Materials
Big Creek Powerhouse #3 - PH #3 - 4th unit - placing pole pieces on rotor.
photCL SCE 02 - 28065

Big Creek Powerhouse #3 - PH #3 - 4th unit
Visual Materials
Big Creek Powerhouse #3 - PH #3 - 4th unit - placing pole pieces on rotor.
photCL SCE 02 - 28066

Big Creek Powerhouse #3 - PH #3 - 4th Unit
Visual Materials
Big Creek Powerhouse #3 - PH #3 - 4th Unit - First attempt to place heated rotor on shaft.
photCL SCE 02 - 28062
Big Creek Powerhouse #3 - PH #3 - 4th Unit
Visual Materials
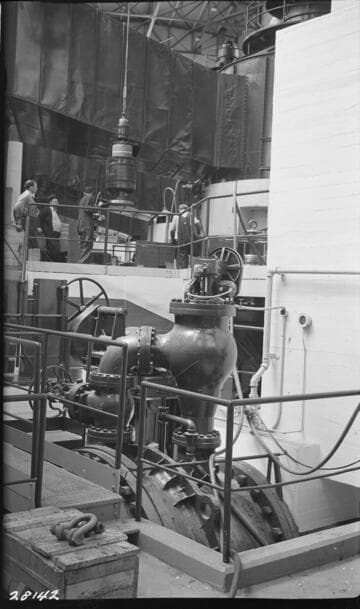
Big Creek Powerhouse #3 - PH #3 - 4th Unit - Lower butterfly valve, bypass, exiter, rotor in background.
photCL SCE 02 - 28142

Big Creek Powerhouse #3 - PH #3
Visual Materials
Big Creek Powerhouse #3 - PH #3 - Failure of road shoulder while hauling 55 ton rotor.
photCL SCE 02 - 28055