Visual Materials
Big Creek PH #2

You might also be interested in

Big Creek PH #2
Visual Materials
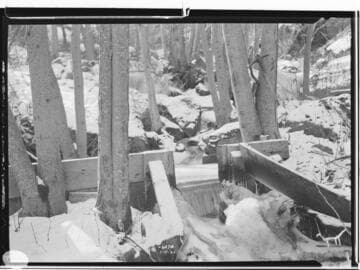
Big Creek PH #2 - Balsam Creek weir in the snow looking upstream at spilling wier.
photCL SCE 02 - 06536

Big Creek PH #2
Visual Materials
Big Creek PH #2 - Balsam Creek weir in the snow looking downstream
photCL SCE 02 - 06535

Big Creek PH #2
Visual Materials
Big Creek PH #2 - Balsam "A" Creek Weir in the snow
photCL SCE 02 - 06538

Big Creek PH #2
Visual Materials
Big Creek PH #2 - Looking upstream at Powerhouse #2, showing the present stage of work on Powerhouse 2a.
photCL SCE 02 - 14316
Big Creek PH #2
Visual Materials
Big Creek PH #2 - Measuring weir at Adit #6, Tunnel 2 near Balsam Creek.
photCL SCE 02 - 06578

Big Creek PH #2
Visual Materials
Big Creek PH #2 - Diversion channel at Dam 5 construction site
photCL SCE 02 - 06510